Logging temperature over USB
A while back while messing around with some Raspberry Pi projects I was looking for a simple and cheap way to log temperatures. Ideally I wanted to avoid soldering components or anything like that; I just wanted something simple I could plug in and use right away.
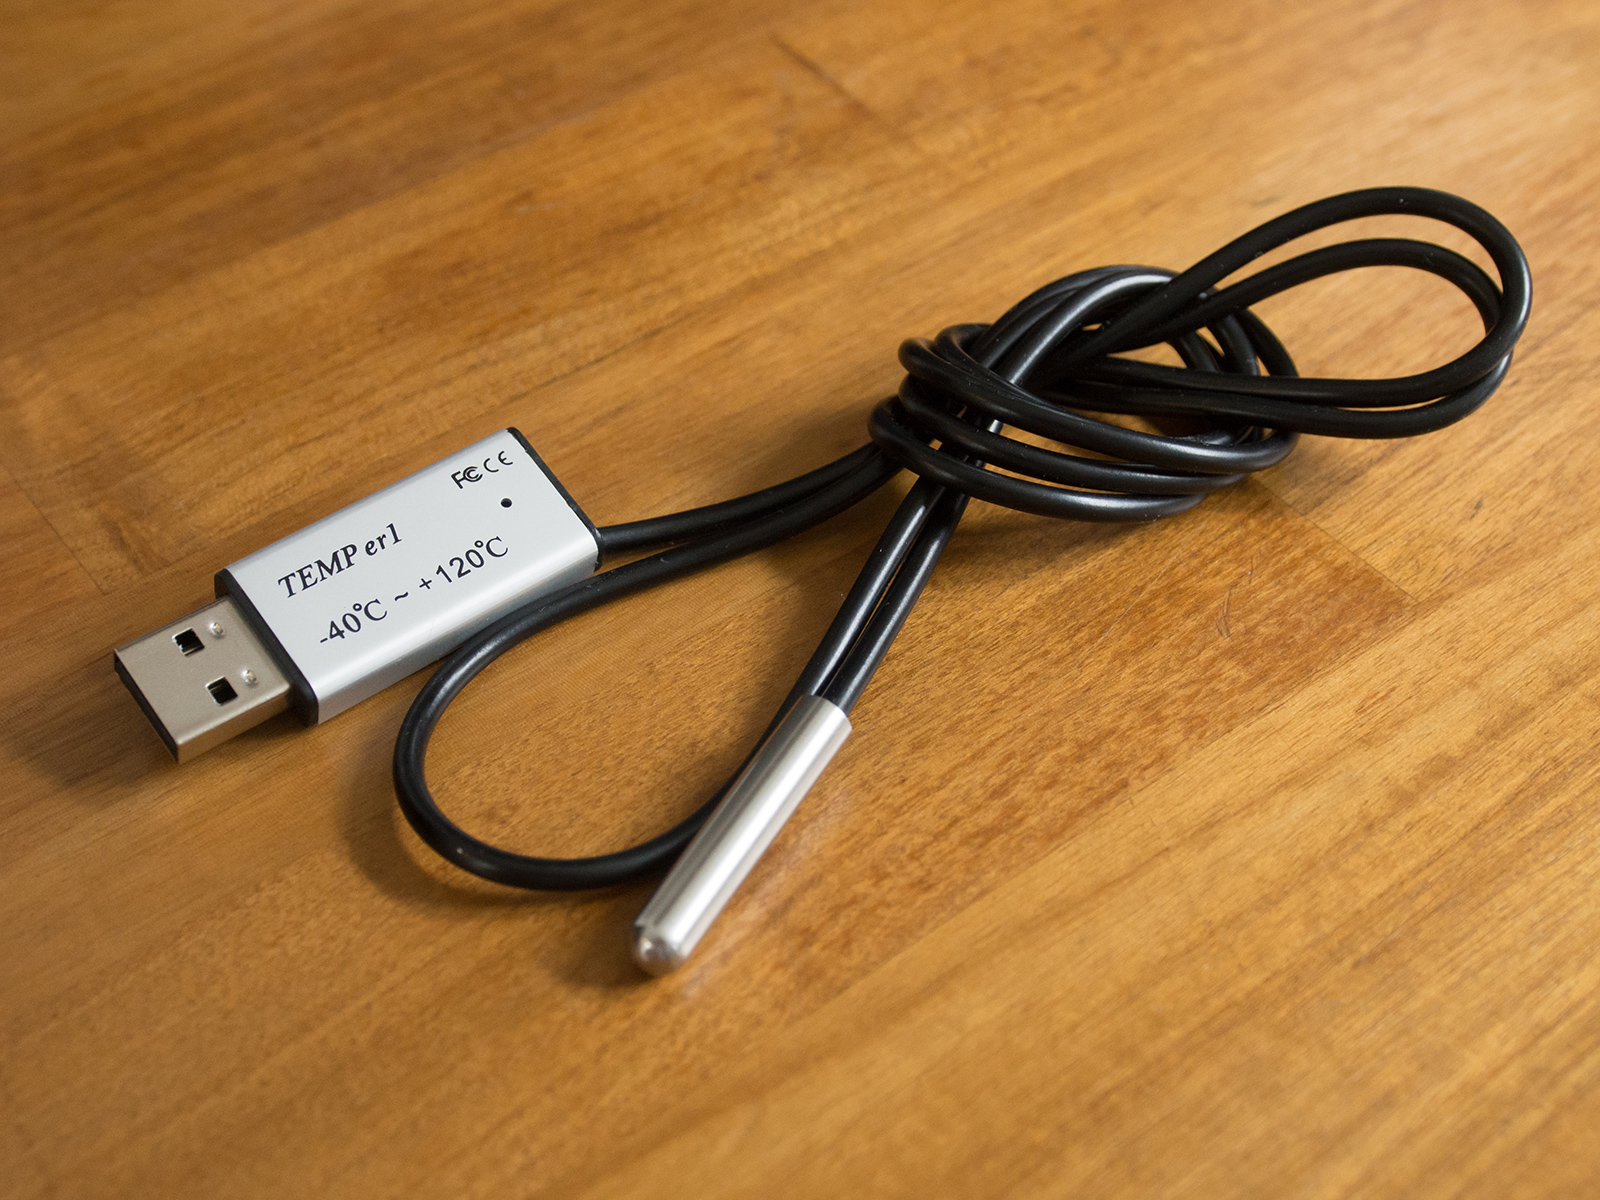
There’s a great solution that costs about £8 delivered, plugs in over USB and gives you a little temperature probe that works for taking the temperature in air or water. It’s branded as a TEMPer1 but often isn’t listed under that name, so the easiest way to find it is just to search for something like “usb temperature” on eBay or Amazon and it’ll almost always appear in the listings somewhere.

Using the TEMPer1 on Ubuntu
Thanks to a great package by bitplane that’s available on GitHub, it’s quick to get the device set up so you can start taking readings. I’m using it on Ubuntu at the moment and I’ve had it working on Raspbian in the past, but it should work for other distributions too.
The first step is to get a copy of the package using git:
git clone https://github.com/bitplane/temper.git
cd temper
Then there are some dependencies to install. The command I ran here differed slightly to what was in the README file but it’s along very similar lines:
sudo apt-get install build-essential libusb-1.0.0 libusb-dev
With the dependencies installed it’s then time to make the binary and run it:
sudo make
sudo ./temper
This should output a timestamp and the current reading on the command line.
Regular readings
One common setup is to take temperature readings at some interval and append them to a log file. This is easily done using cron.
Because the default setup of the sensor is to require root, we can add the following into the root user’s crontab, like so:
sudo crontab -e
Paste in the following command, for example, to take a reading every 5 minutes and append it to a log file on the desktop. You should obviously change the paths mentioned here according to the locations of your temper script and the desired location of the log file:
# Edit this file to introduce tasks to be run by cron.
#
# Each task to run has to be defined through a single line
# indicating with different fields when the task will be run
# and what command to run for the task
#
# To define the time you can provide concrete values for
# minute (m), hour (h), day of month (dom), month (mon),
# and day of week (dow) or use '*' in these fields (for 'any').#
# Notice that tasks will be started based on the cron's system
# daemon's notion of time and timezones.
#
# Output of the crontab jobs (including errors) is sent through
# email to the user the crontab file belongs to (unless redirected).
#
# For example, you can run a backup of all your user accounts
# at 5 a.m every week with:
# 0 5 * * 1 tar -zcf /var/backups/home.tgz /home/
#
# For more information see the manual pages of crontab(5) and cron(8)
#
# m h  dom mon dow   command
*/5 * * * * /home/paulherron/bin/temper/temper >> /home/paulherron/Desktop/temperature.log